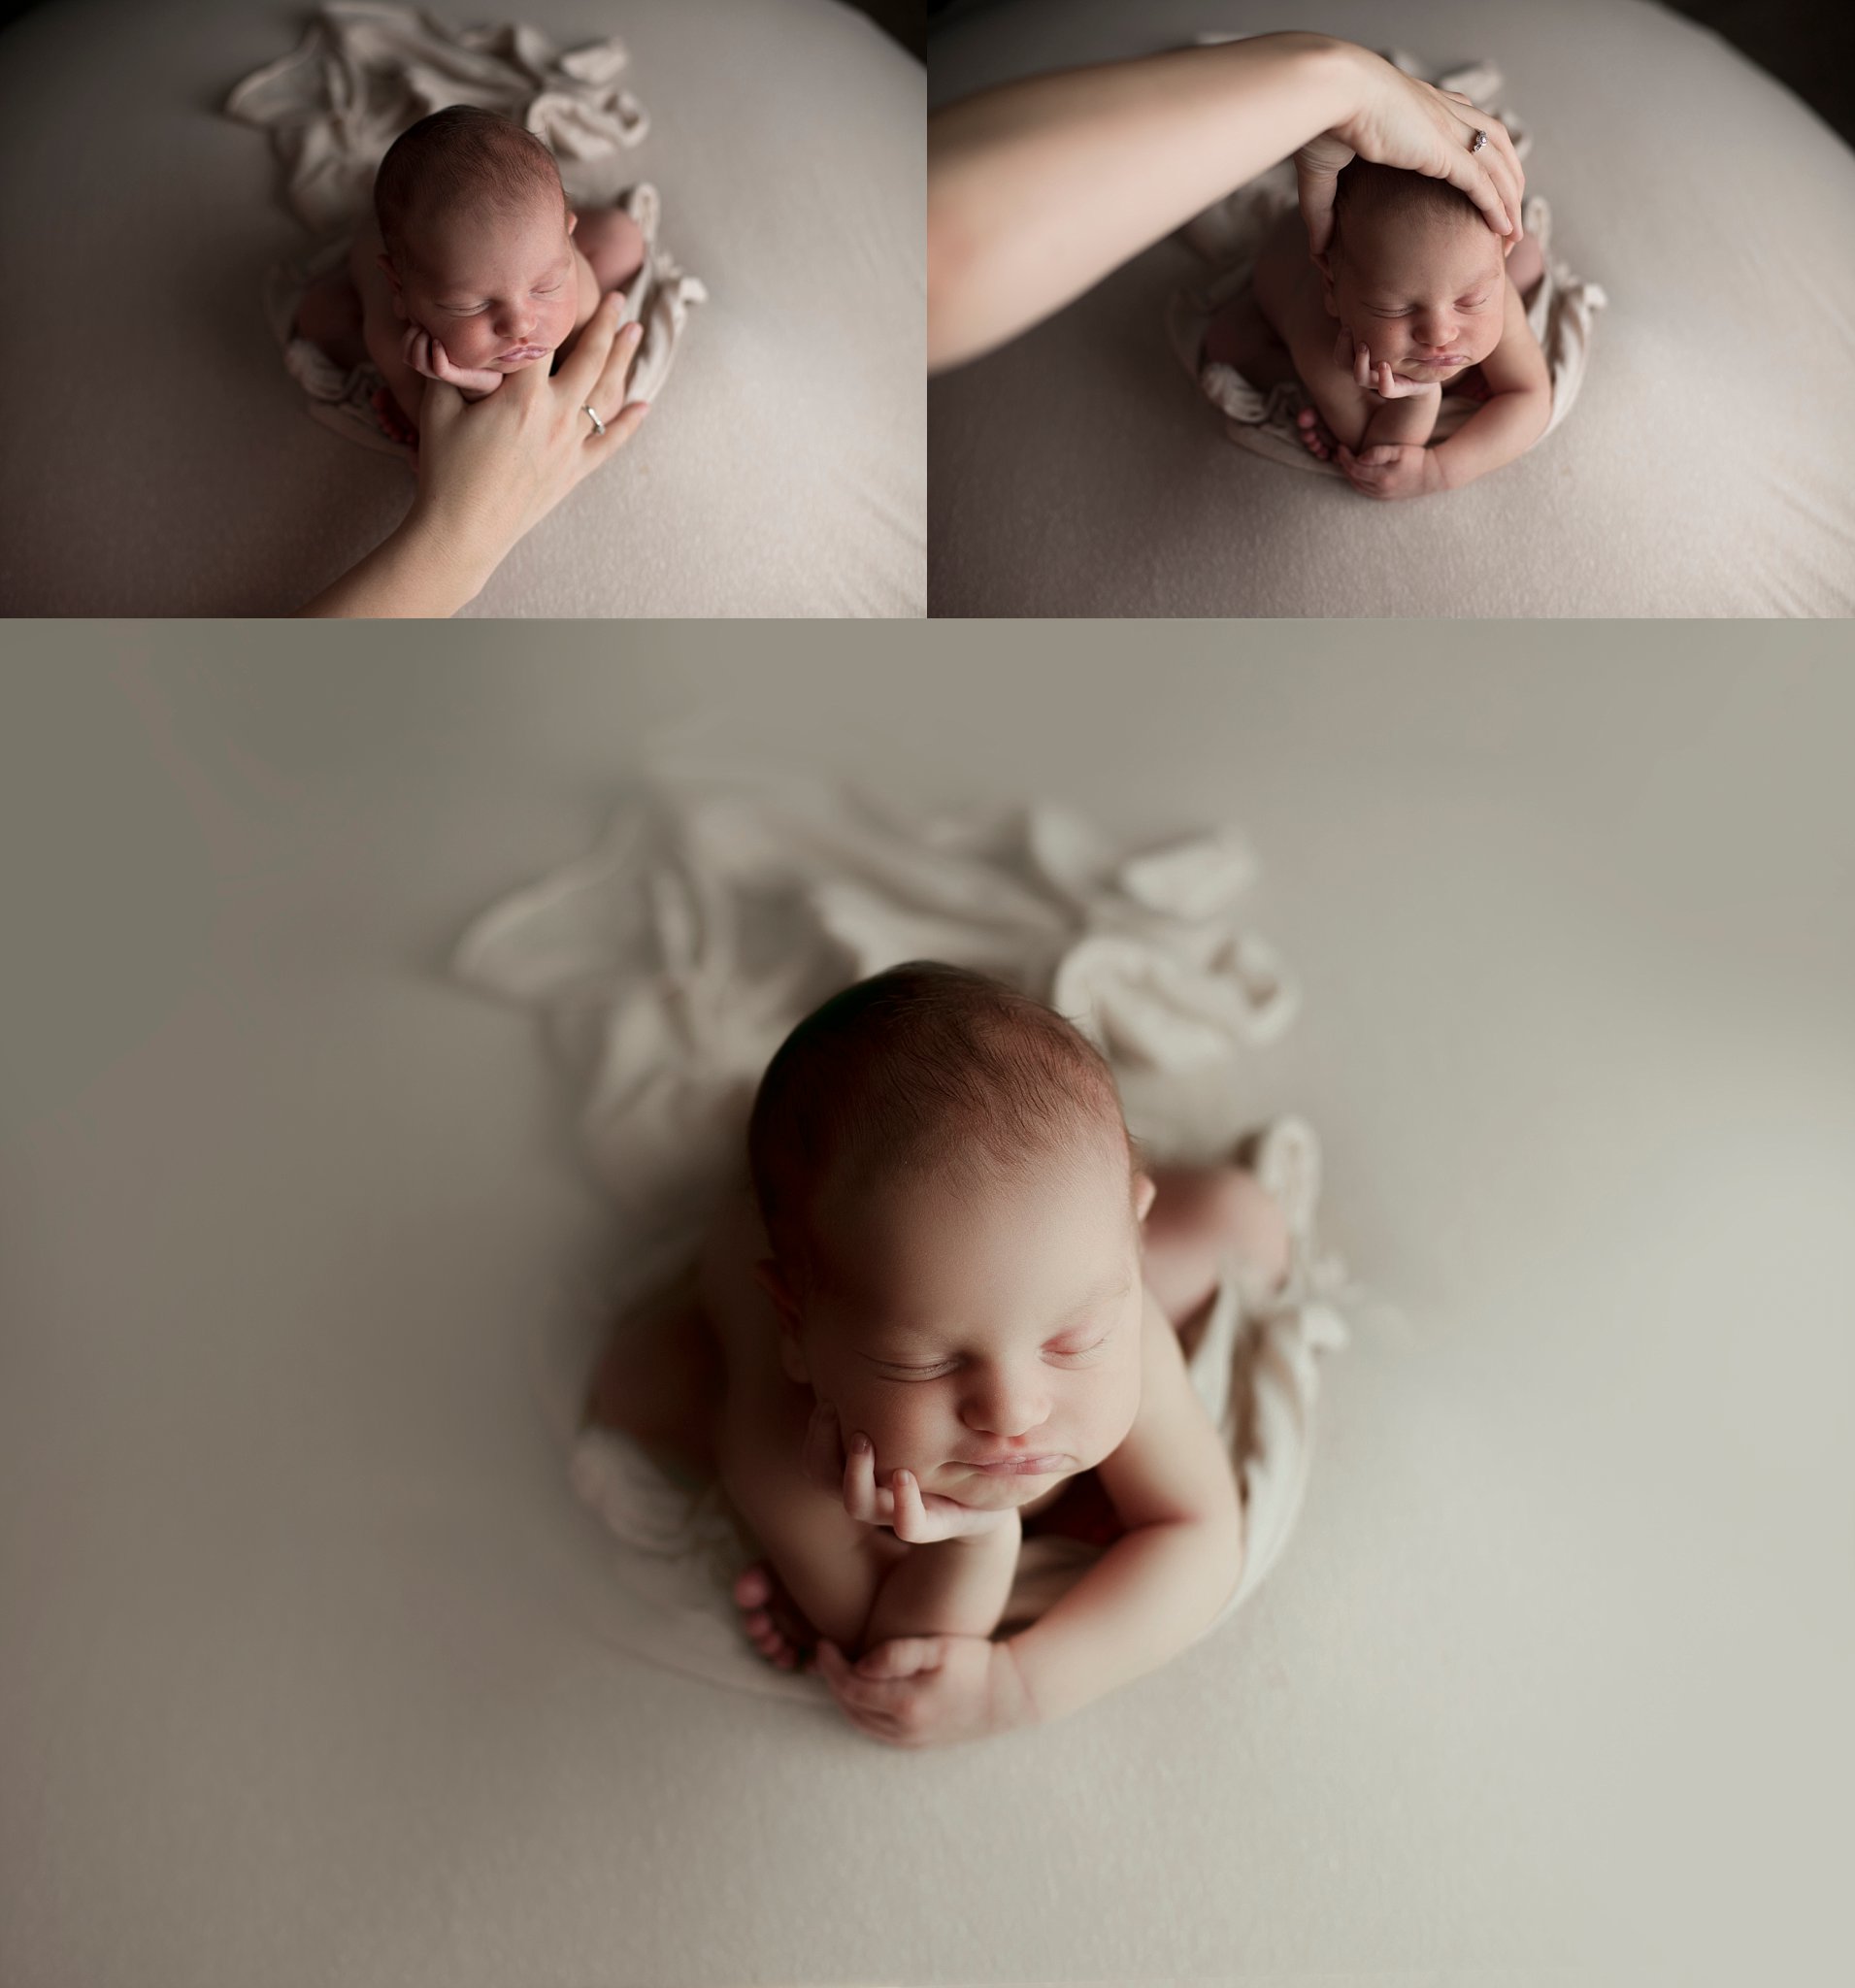
How to Achieve Froggy Pose in Newborn Photography
In this blog tutorial I will do my best to word the froggy posing and compositing process in the least confusing way (lol). The image shown is not a typical froggy pose. This little guy’s arm fell down during posing, and I actually loved it, so we went with it and this was the end result! It’s a “manly” froggy pose, I suppose, but posing and compositing are the same regardless of one hand under chin or both hands.
-Posing Process-
Step one:
Set baby on his/her butt, like you as an adult would sit up, with their legs out in front of them. Have a large posing bean under their feet. While I’m doing this, I usually am getting their hands into place under their chin. Sometimes it’s easier to let them make fists, their natural instinct, and then fix hands after step two.
Step two:
Lean baby forward onto hands. If you didn’t fix hands and fingers during step one, or if baby startles, now is the time to do it! Grab baby’s pads of his or her feet and pull them up to their elbow. This keeps their arms in place. Sometimes you have to repeat this step multiple times until it looks right to you. Note: If baby’s arms are apart and their wrists are not touching, grab the wrists with your left hand and pull up on baby’s face (take their head weight off of their hands) with your right hand and close the gap. When you put baby’s face back to rest on his/her hands, the weight of their head will keep the wrists together!
Step three:
Once you have baby positioned right, now is the time to have your assistant, or even a parent help you spot for the composite. I personally don’t trust my reflexes enough to stop a baby from injuring itself. I’m more focused on the shot, angles, and focusing/ holding my camera that I personally will not spot my own froggy. Some people spot their own froggy and there is nothing wrong with that if that’s what you plan to do. I just don’t.
Step four:
Take one photo of the bottom half of baby’s body. Have your assistant or parent switch hands to the bottom half of baby’s body, careful to move the pose as little as possible. This makes compositing so much easier. I repeat this step to get one forward facing composite and one backlit composite.
-Compositing in Photoshop-
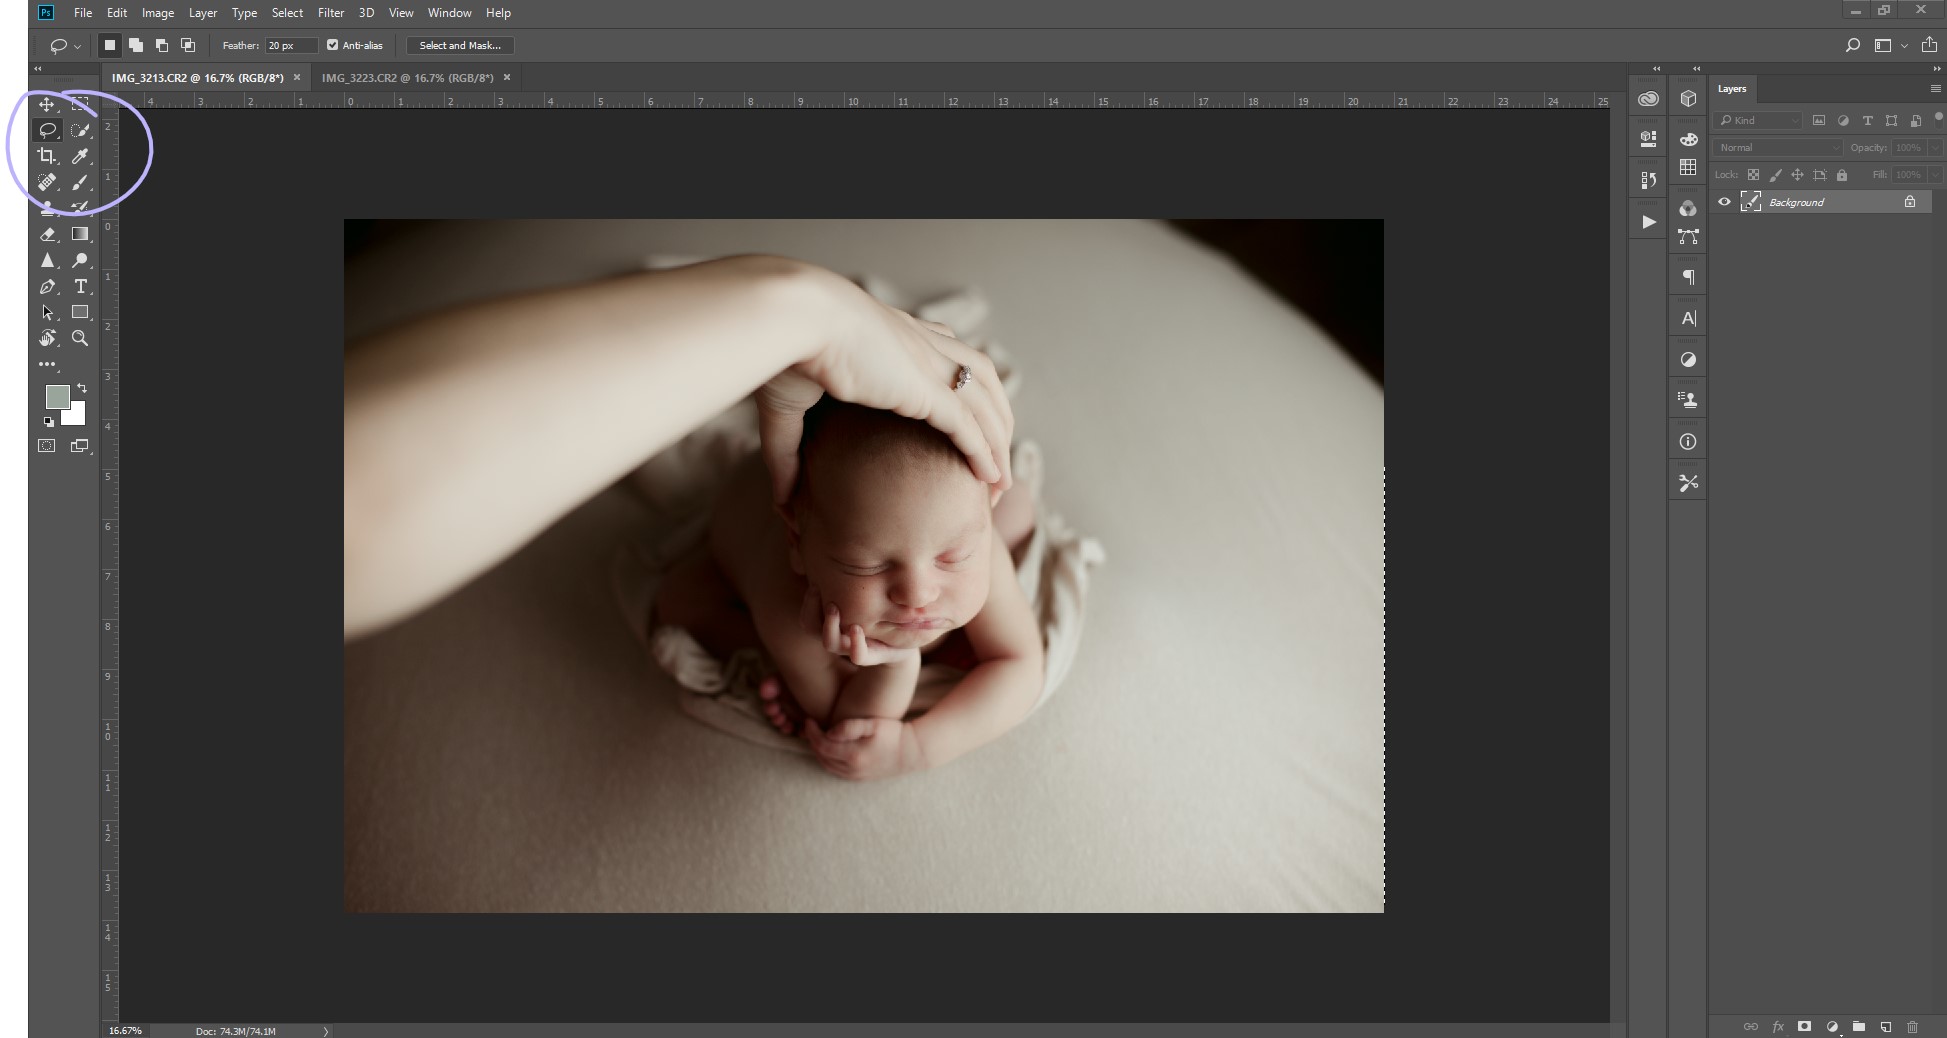
Here I’ll show you how I composited one of the froggy shots from Brady’s newborn session! (Zoom in with your fingers if you don’t know where these tools are!)
Step one: Select lasso tool
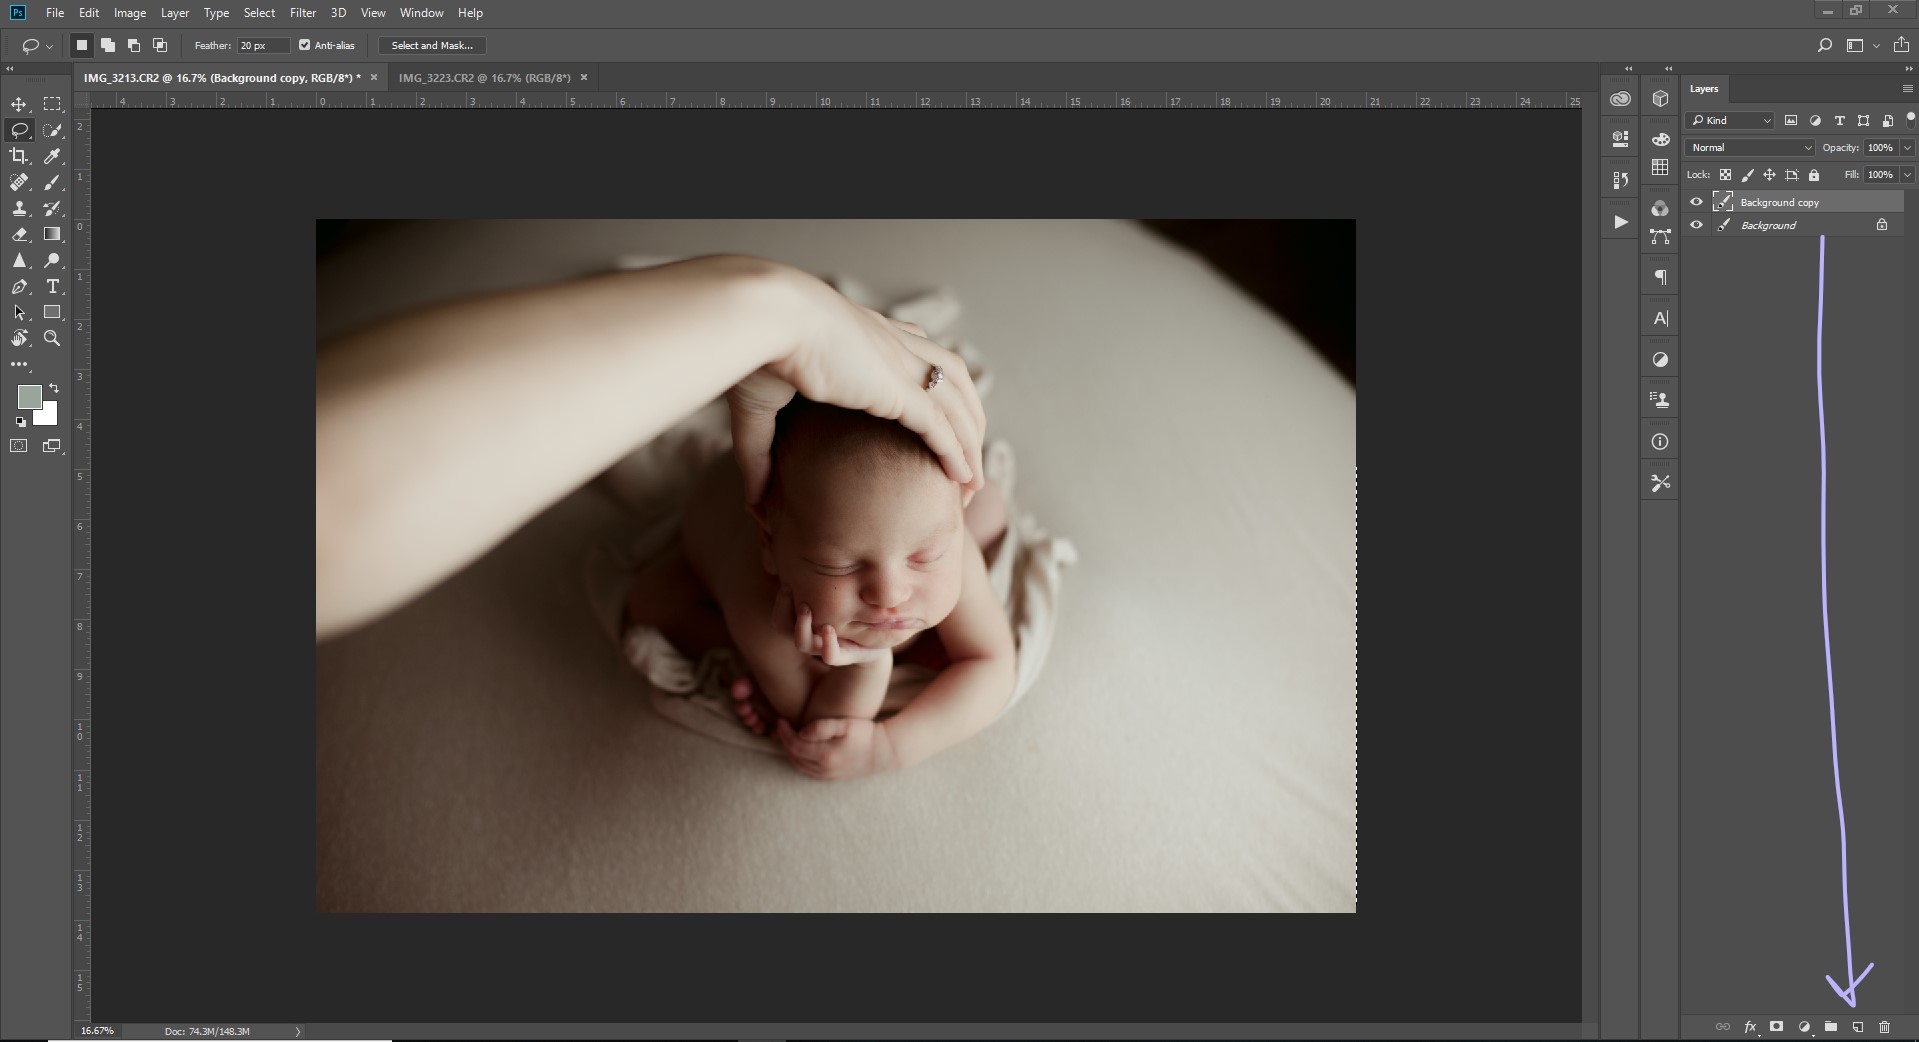
Step two: Create new background layer
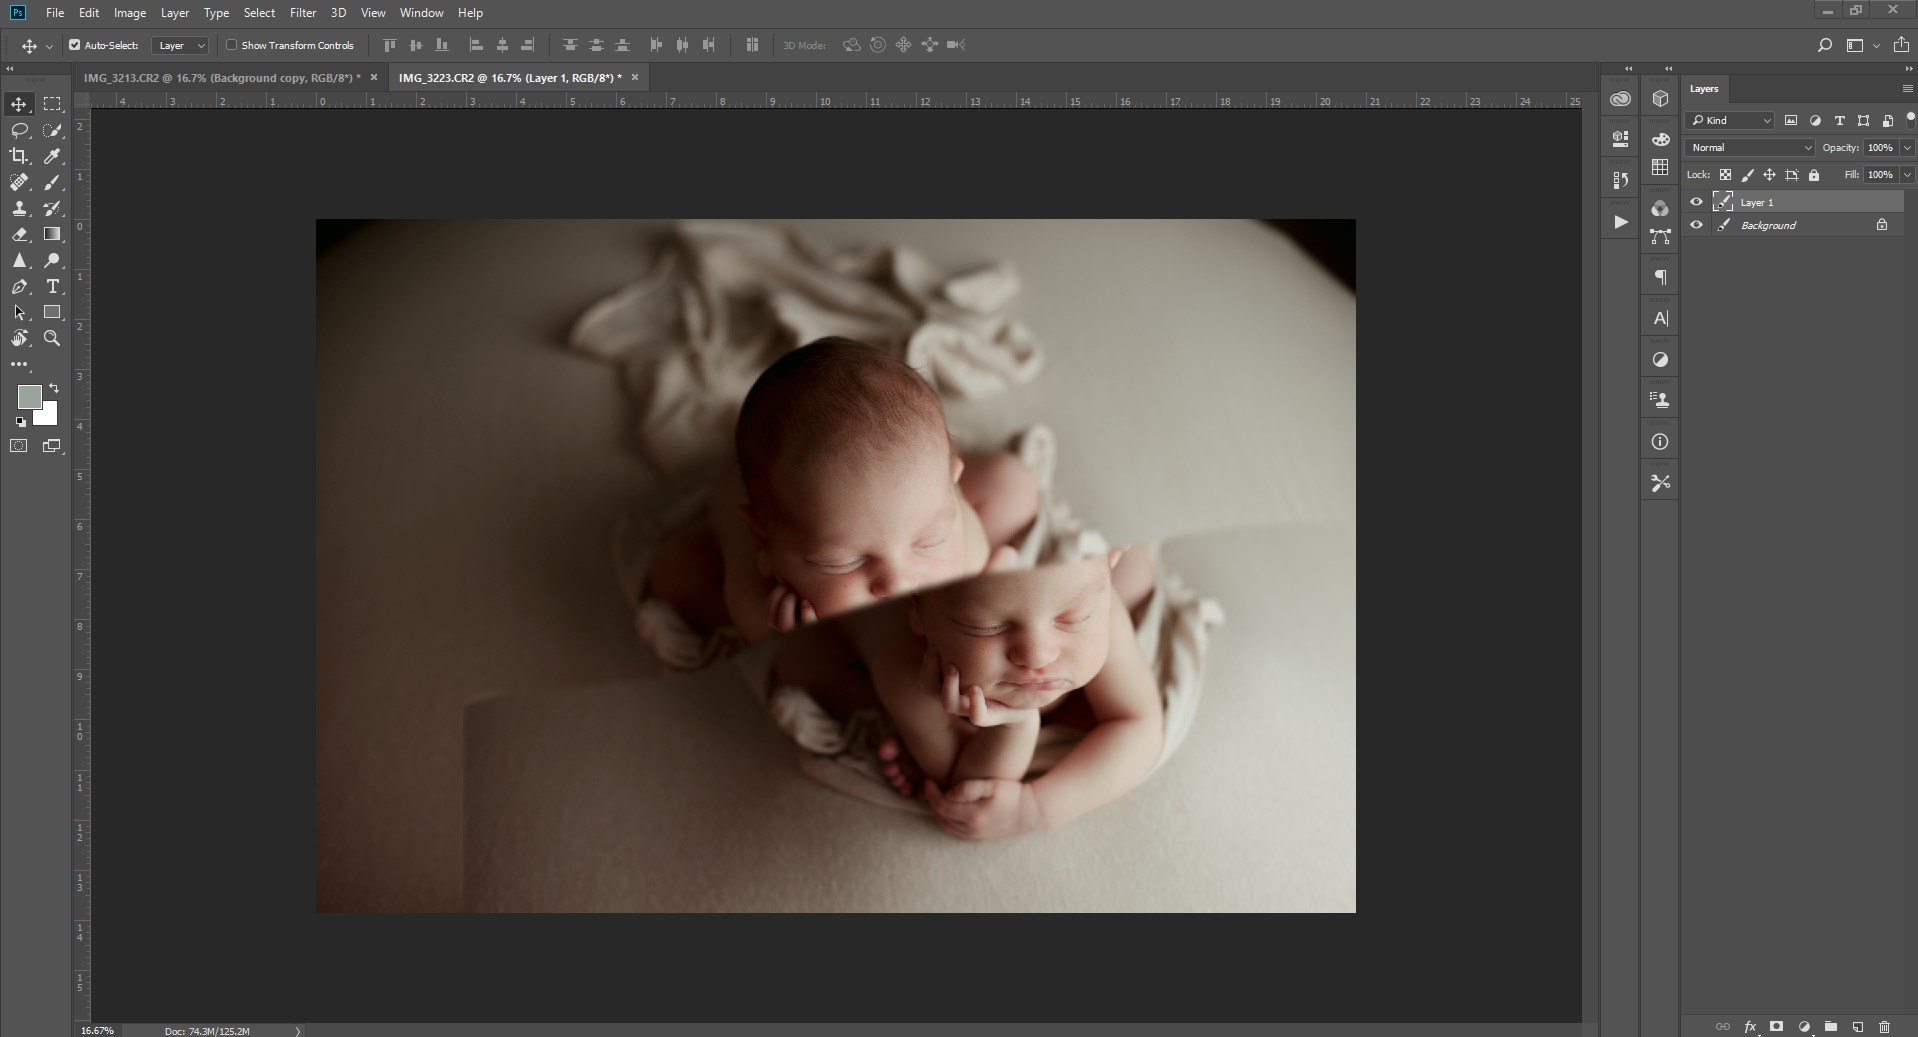
Step three: Lasso area that you want to composite and drag it to other photo.
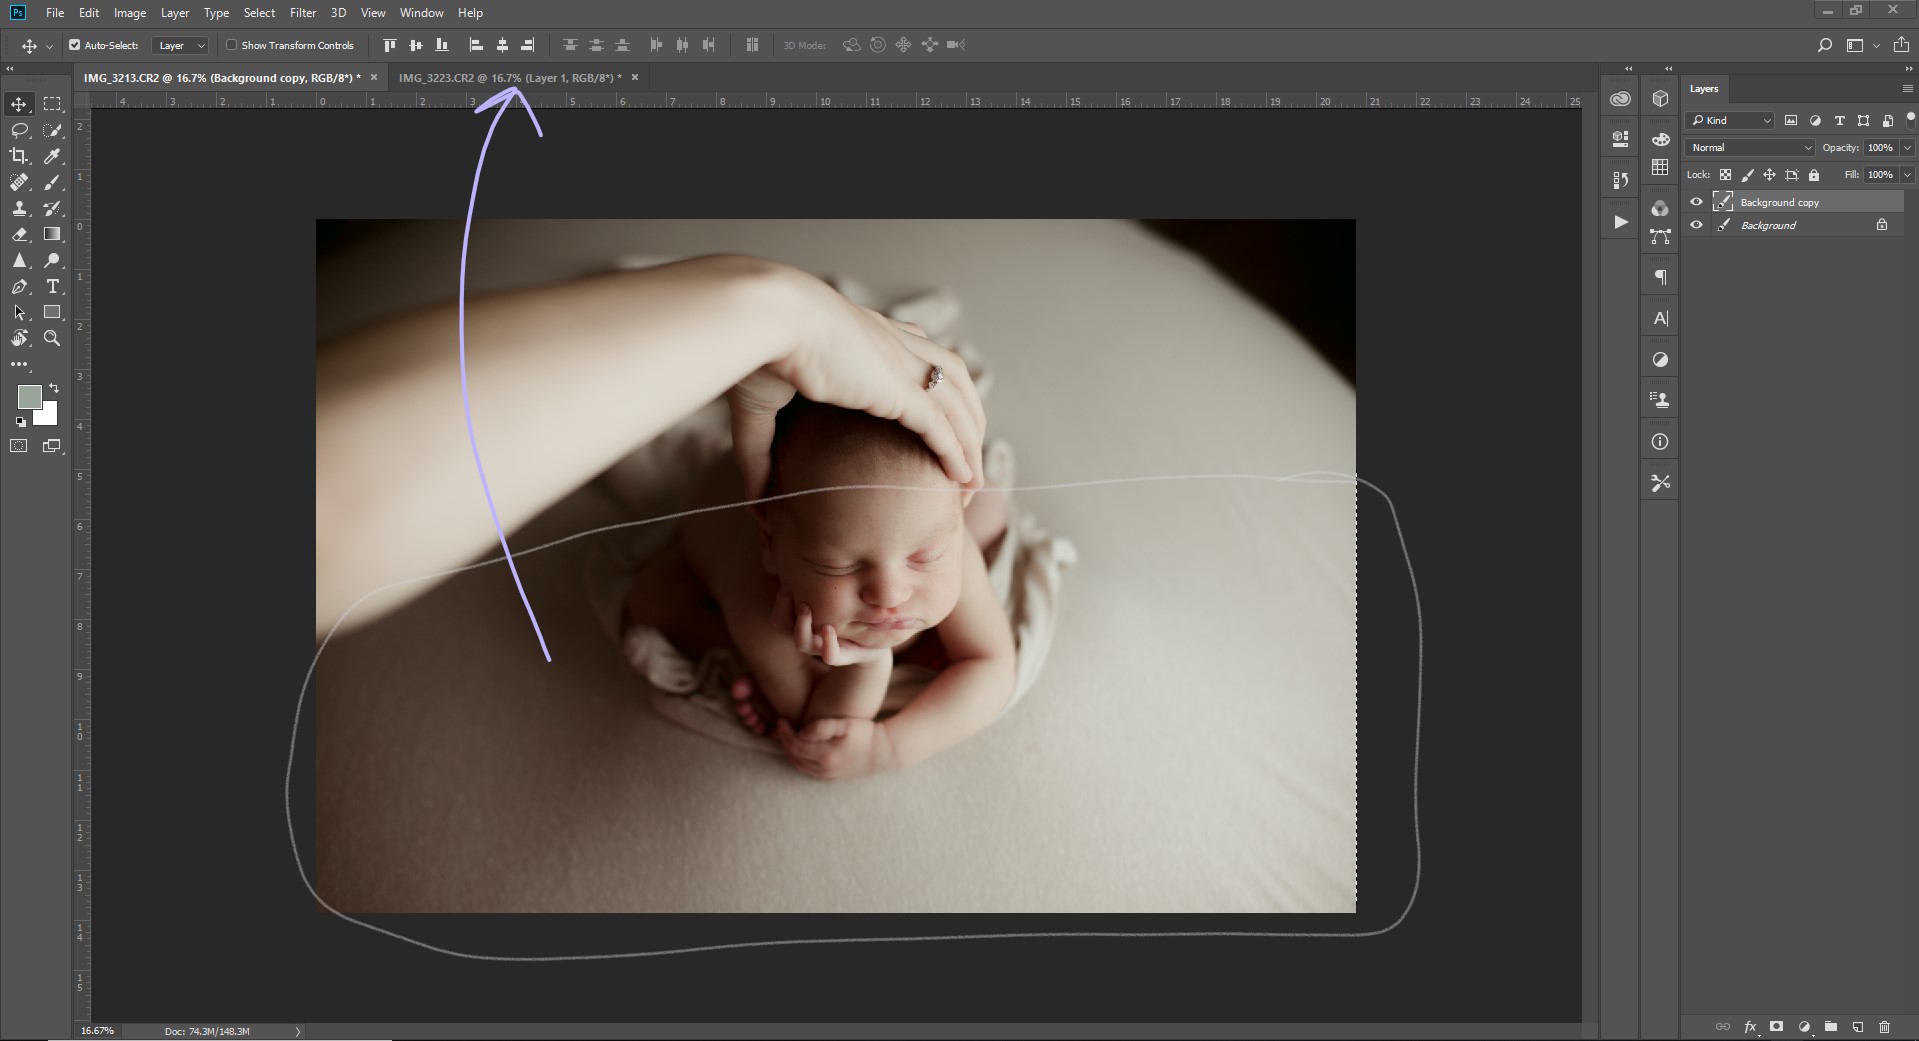
You will see this on your second photo if done correctly.
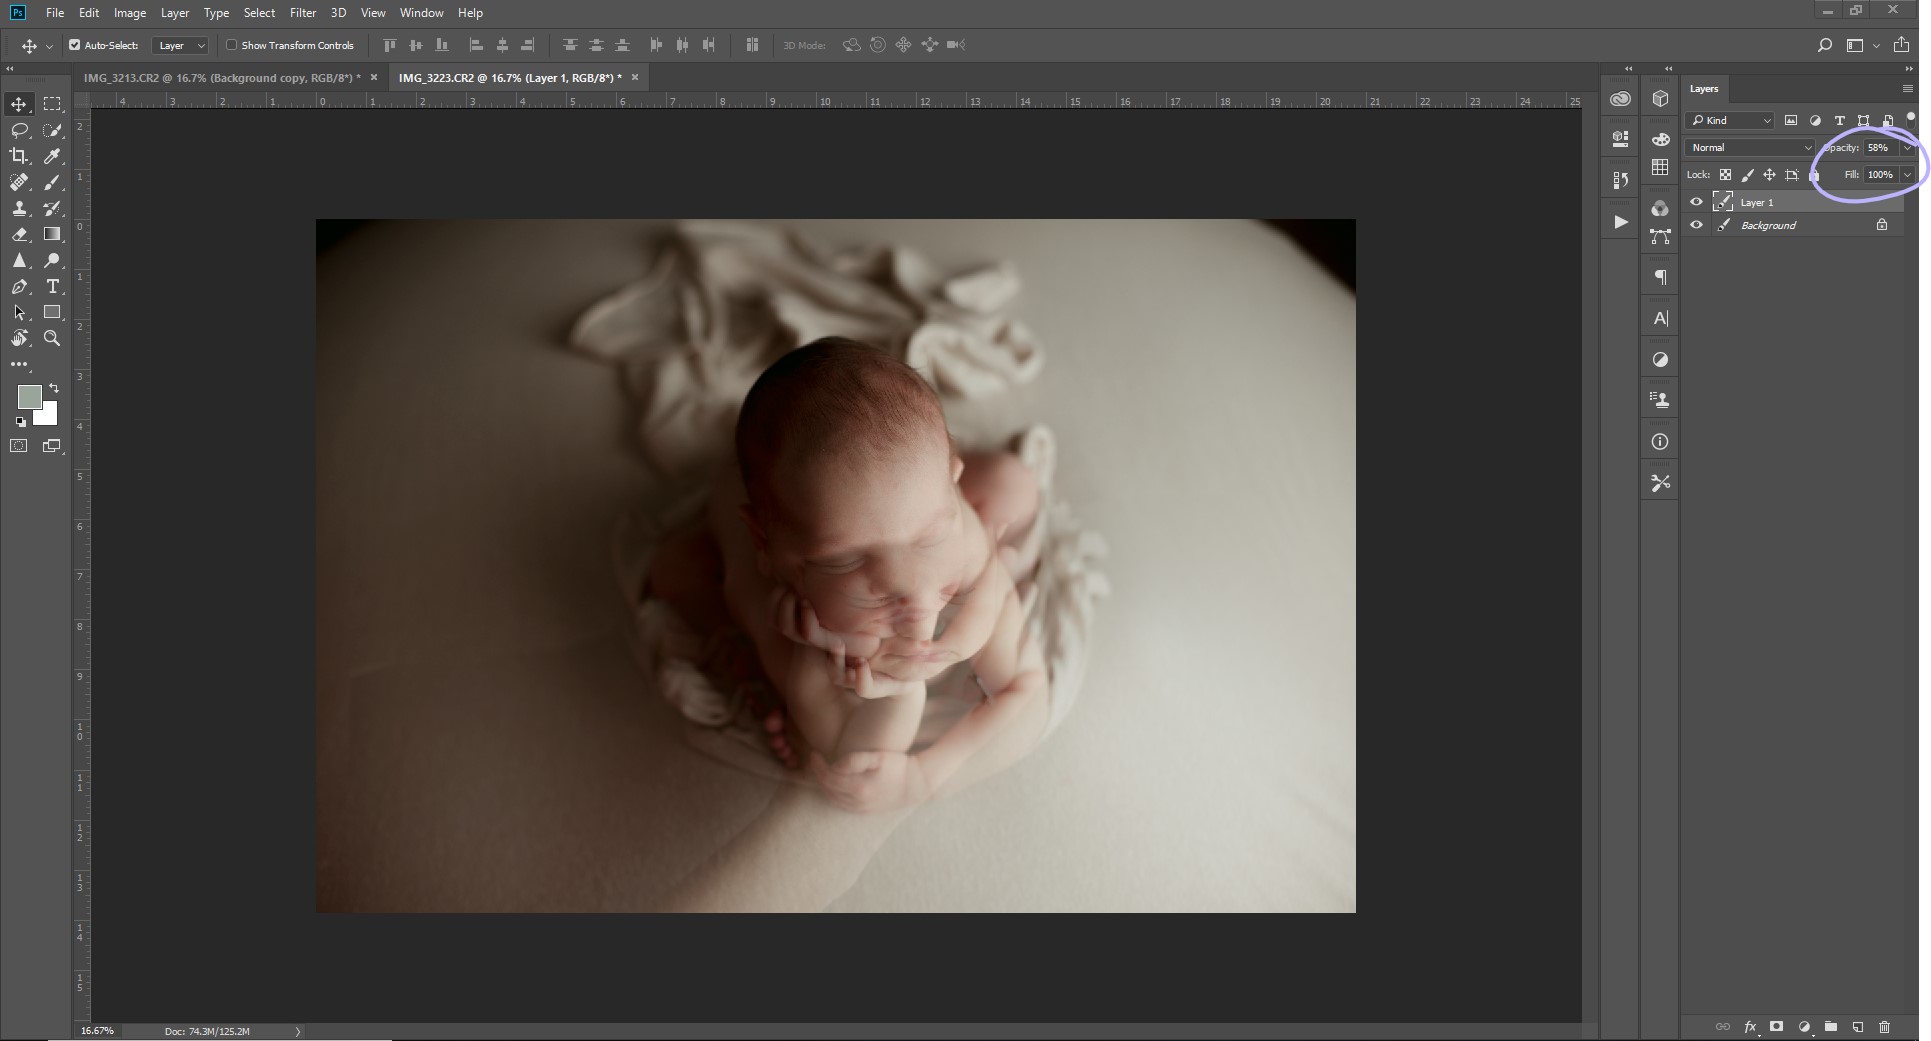
Step four: Turn down layer opacity
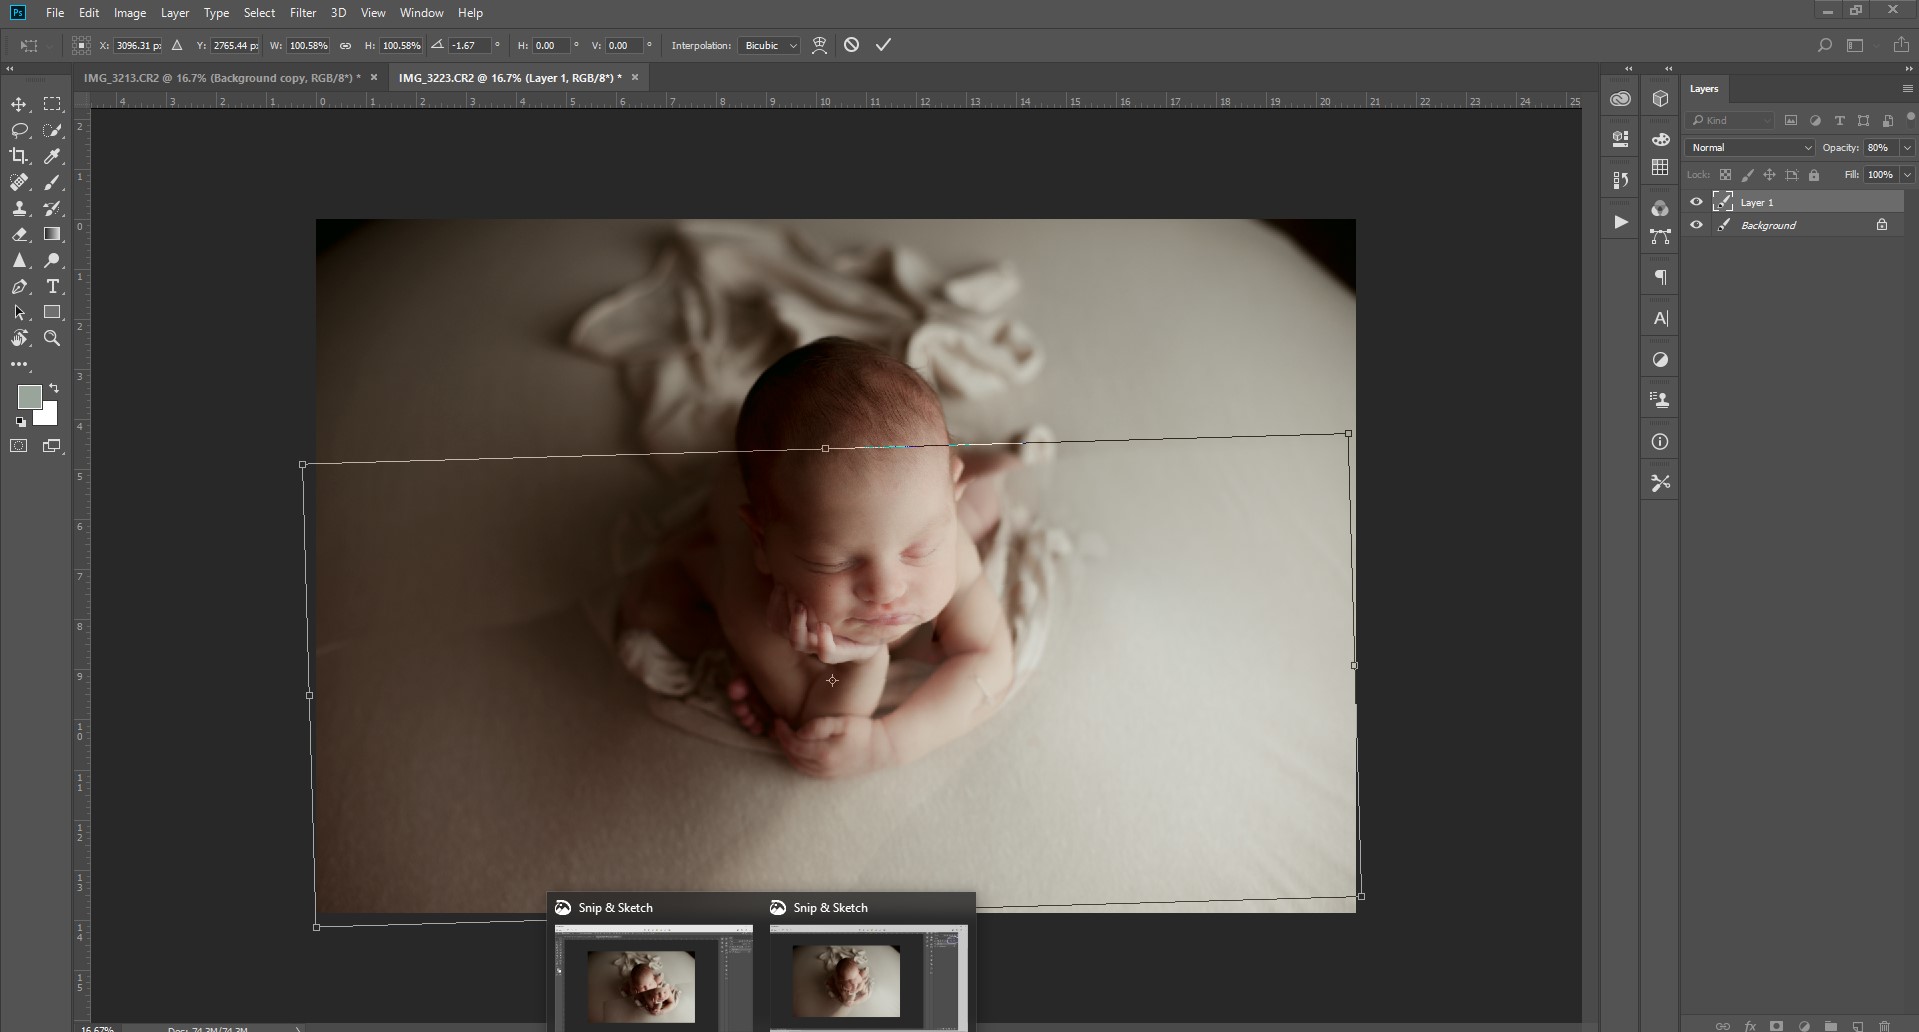
Step five: Hold down “Ctrl” and “T” at the same time to transform the layer. It is IMPERATIVE that you hold down the shift button while adjusting the layer so you do not distort your subject. Line it up as close as you can to the original image. You can make the layer larger or smaller, tilt it, etc. to get the closest match to your compositing image.
Step six: Erase the parts of the composite that don’t match. Be sure to zoom in closely on fingers, toes, and ears to ensure there aren’t duplicates. Paint or clone the edges of your photo if needed.
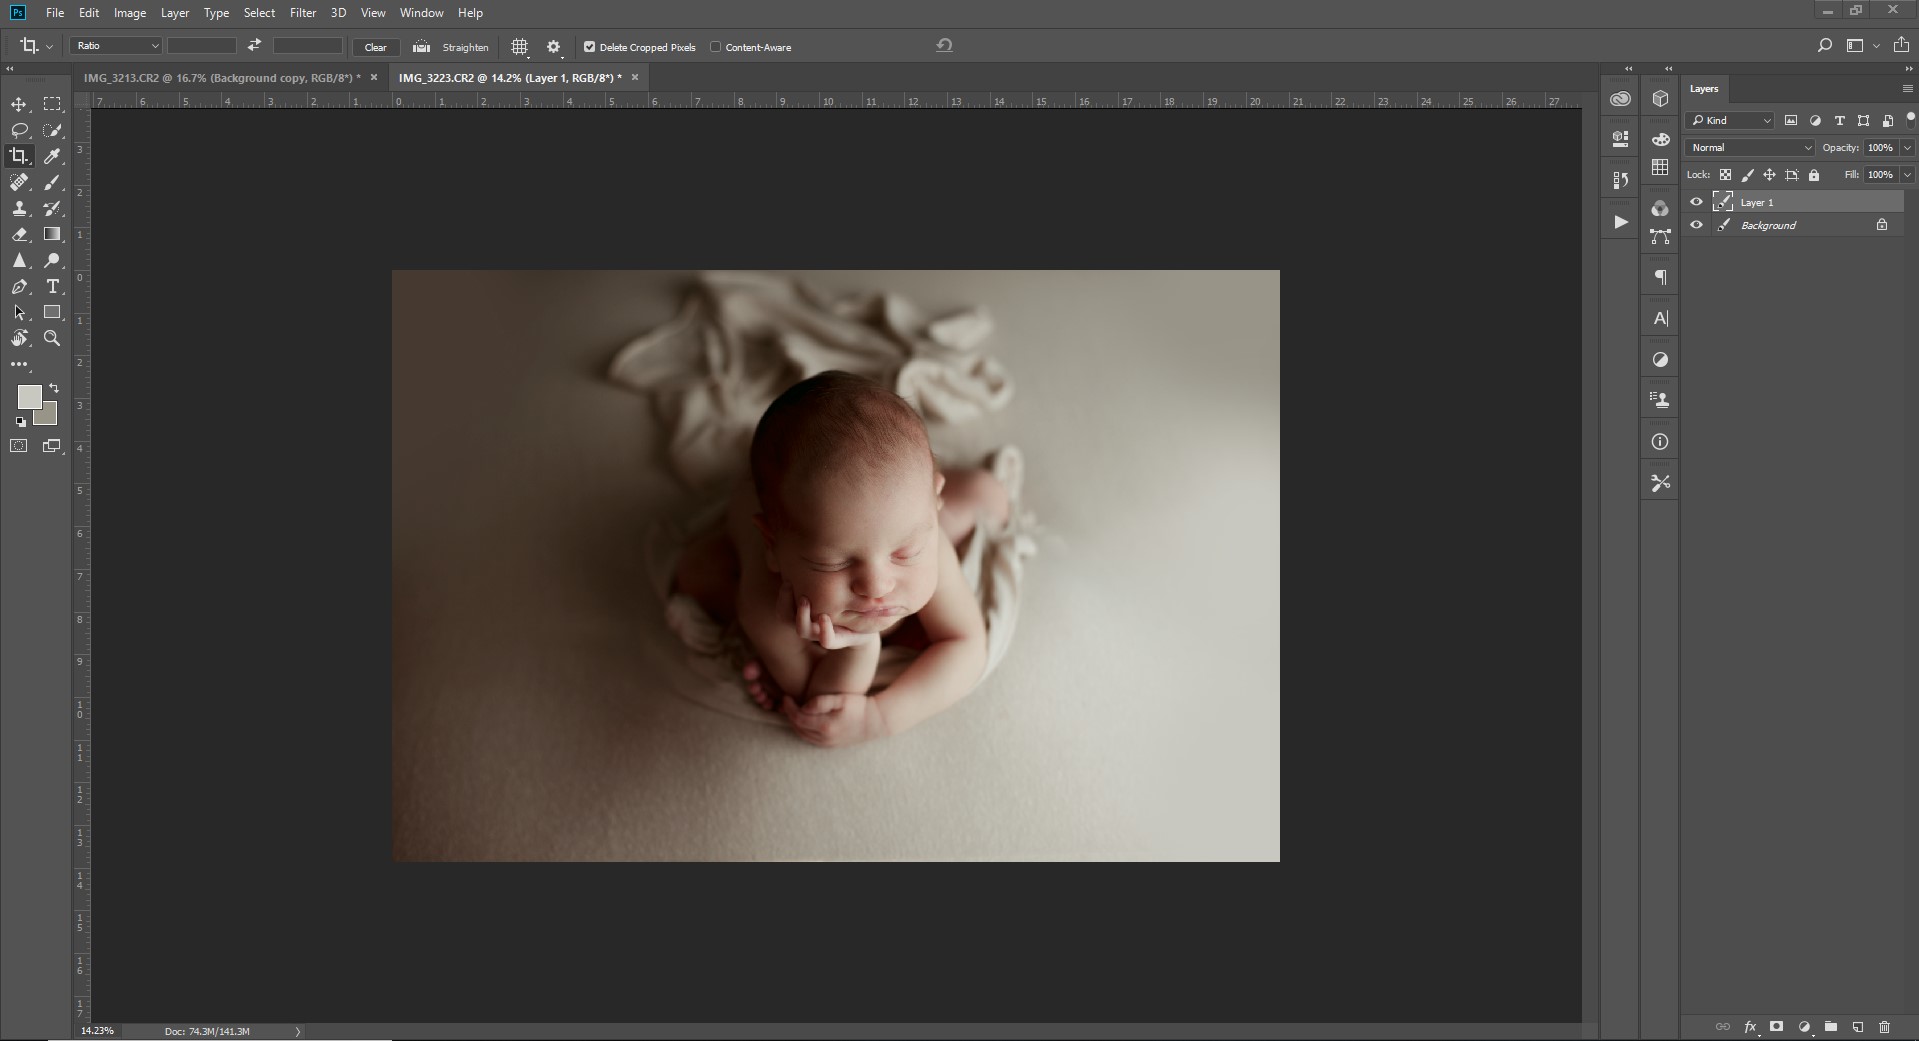
Step seven: Apply any actions or hand edits that you do to your other photos.


leave a comment